Table of Contents
ToggleTypical Causes of Kitchen Sink Leaks and How to Repair Them
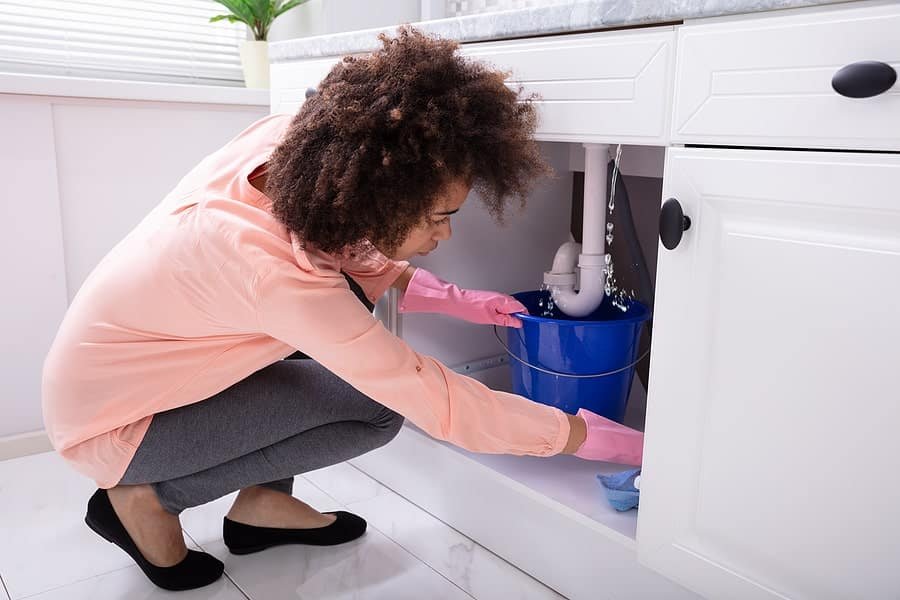
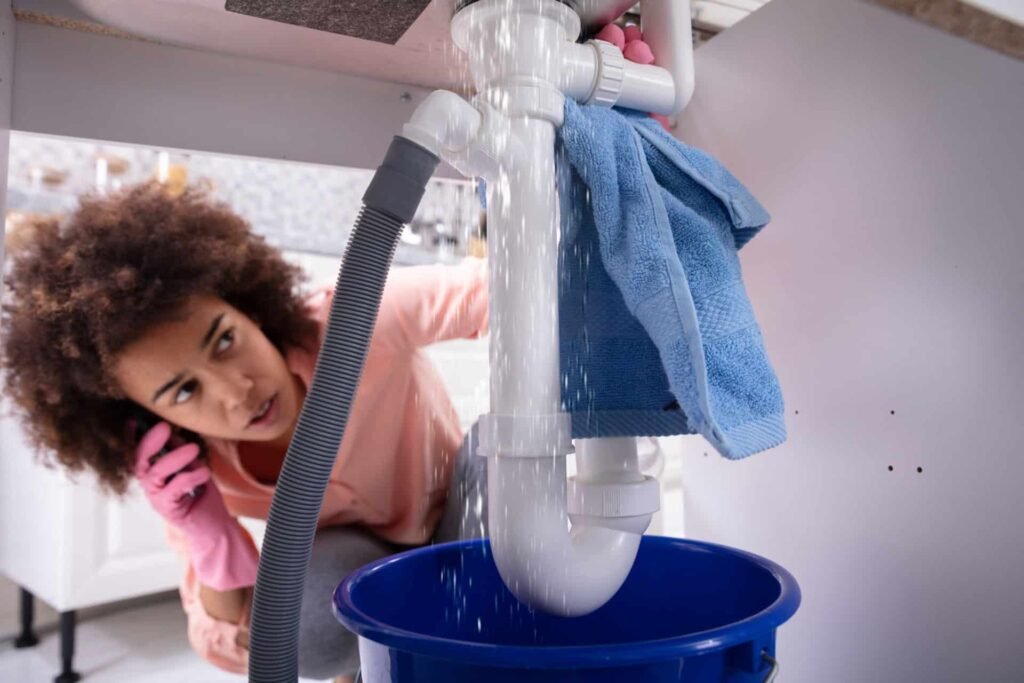
Your kitchen sink is leaking? A leaking kitchen sink can be a nuisance, causing water damage and increasing your utility bills. Understanding the common causes of kitchen sink leaks and knowing how to fix them can save you time, money, and frustration. In this article, we will explore the typical reasons behind kitchen leaks and provide detailed steps to address each issue.
Introduction to Kitchen Sink Leak Repair
Kitchen sink leaks can arise from various sources, including the faucet, pipes, and drain. Identifying the exact cause is crucial for effective repair. Regular maintenance and prompt attention to leaks can prevent more significant plumbing issues and water damage.
Common Causes of Kitchen Sink Leaks
1. Loose or Damaged Connections
Problem: Over time, the connections between pipes and fixtures can loosen or become damaged, leading to leaks.
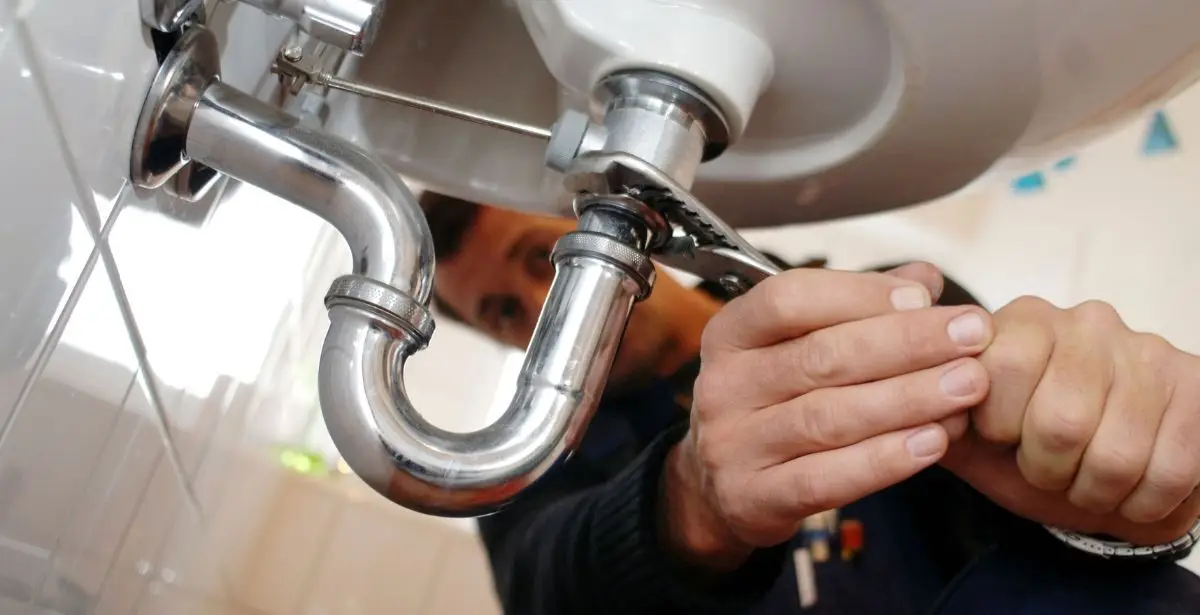
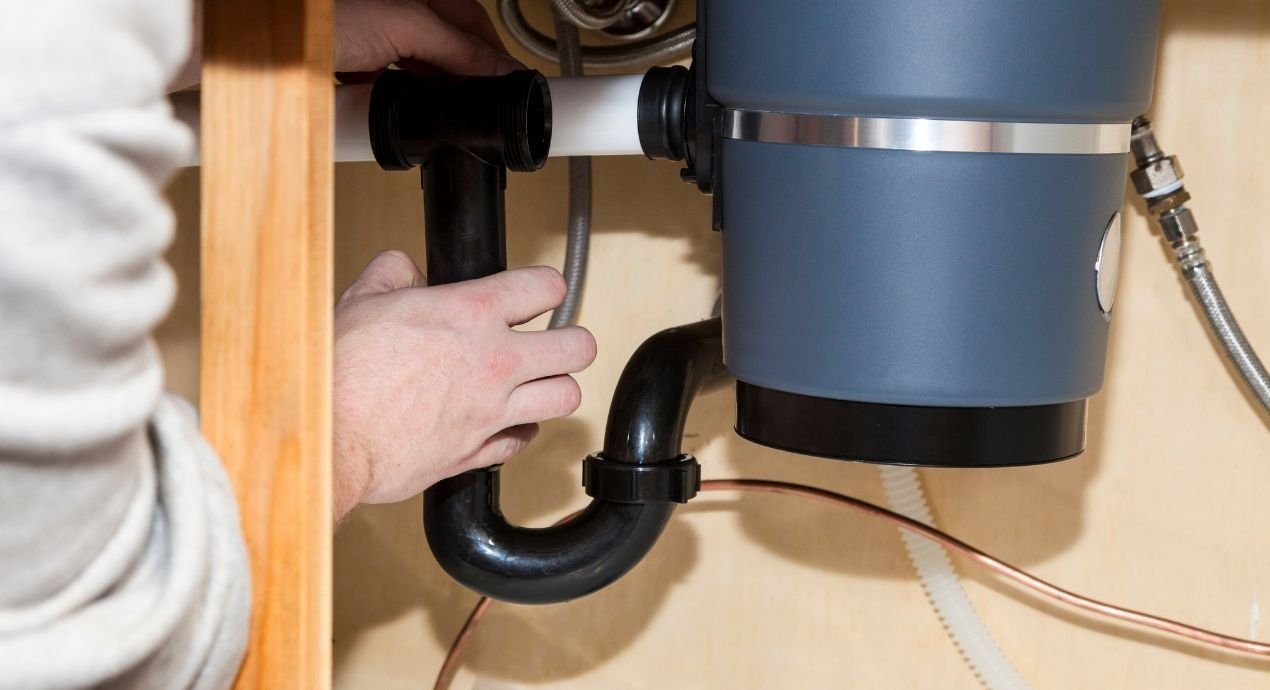
Solution: Inspect all connections under the sink, including supply lines and drain pipes. Use a wrench to tighten any loose nuts. If a connection is damaged, replace the affected part.
2. Faulty Faucet
Problem: A leaking faucet can waste a significant amount of water and may be caused by worn-out components like washers, seals, or cartridges.
Solution: Identify the type of faucet (compression, ball, cartridge, or ceramic disk) and purchase the appropriate repair kit. Disassemble the faucet, replace the damaged components, and reassemble it. If the faucet is too old or damaged, consider replacing it entirely.
3. Worn-Out Washers or Seals
Problem: Washers and seals in the faucet and plumbing connections can degrade over time, causing leaks.
Solution: Turn off the water supply and disassemble the faucet to access the washers and seals. Replace any worn-out parts with new ones from a hardware store. Reassemble the faucet and test for leaks.
4. Cracked Sink or Pipes
Problem: Physical damage to the sink basin or pipes can cause water to leak out.
Solution: For minor cracks in the sink, use a waterproof epoxy or sealant to fill the cracks. If a pipe is cracked, it’s usually best to replace the damaged section. For significant damage, consult a professional plumber.
5. Clogged Drains
Problem: A clogged drain can cause water to back up and leak from connections or overflow the sink.
Solution: Use a plunger or a plumber’s snake to clear the clog. Pouring a mixture of baking soda and vinegar followed by hot water can also help clear minor clogs. If the clog is persistent, consider using a chemical drain cleaner or calling a plumber.
6. Corrosion
Problem: Metal pipes and fixtures can corrode over time, leading to leaks.
Solution: Inspect pipes and fixtures for signs of corrosion, such as discoloration or rust. Replace any corroded parts with new ones made from corrosion-resistant materials like PVC or stainless steel.
7. Improper Installation
Problem: Poor installation of the sink, pipes, or fixtures can result in leaks.
Solution: Ensure that all components are installed correctly and securely. If you are unsure about the installation, it may be best to hire a professional plumber to re-install the sink and plumbing correctly.
How Kitchen Sink Leaks Affect Water Bills and Utilities
A minor leak might seem insignificant, but over time, it can lead to considerable water waste and higher utility bills. Even a small drip can amount to gallons of wasted water each day. Ignoring leaks could end up costing more in terms of both repairs and ongoing higher bills. Prompt attention can avoid unnecessary expenses.
Health Concerns Associated with Kitchen Sink Leaks
Leaks under the sink may lead to mold growth due to constant moisture. Mold and mildew not only affect indoor air quality but can also lead to health issues, particularly for those with allergies or respiratory problems. It’s crucial to fix leaks promptly to maintain a healthy environment in your home.
How to fix kitchen sink leak? Step-by-Step Guide to Fixing Common issues
Tools and Materials Needed
- Wrench
- Screwdriver
- Plumber’s tape
- Replacement washers, seals, or parts
- Waterproof epoxy or sealant
- Plumber’s snake
- Baking soda and vinegar
- Bucket
Step 1: Identify the Source of the Leak
Turn off the water supply to the sink. Dry the area under the sink and turn the water back on to see where the leak is originating. Common sources include the faucet, supply lines, drain pipes, or the sink basin itself.
Step 2: Tighten Connections
Use a wrench to tighten any loose connections. Be careful not to over-tighten, as this can cause damage.
Step 3: Replace Washers or Seals
Disassemble the faucet to access the washers and seals. Replace any worn-out parts with new ones. Reassemble the faucet and check for leaks.
Step 4: Repair or Replace Damaged Parts
If you find cracks in the sink or pipes, use a waterproof epoxy to seal minor cracks. For significant damage, replace the affected parts.
Step 5: Clear Clogs
Use a plunger or plumber’s snake to clear any clogs in the drain. Pour a mixture of baking soda and vinegar followed by hot water to help clear minor clogs.
Step 6: Address Corrosion
Inspect pipes and fixtures for signs of corrosion. Replace any corroded parts with new ones made from corrosion-resistant materials.
Step 7: Ensure Proper Installation
If the leak persists and you suspect improper installation, it may be best to hire a professional plumber to re-install the sink and plumbing correctly.
You can check this article if it’s your first time trying to fix a kitchen sink by yourself.
Preventive Maintenance Tips For Kitchen Sink Repair
- Regular Inspections: Periodically check under the sink for signs of leaks, corrosion, or loose connections.
- Clean Drains: Regularly clean the sink drain to prevent clogs. Avoid pouring grease or large food particles down the drain.
- Replace Old Fixtures: If your faucet or plumbing fixtures are old, consider replacing them before they fail.
- Use Quality Materials: When repairing or replacing parts, use high-quality materials to ensure durability and longevity.
Conclusion
Kitchen sink leaks can be a hassle, but with the right knowledge and tools, you can address most issues yourself. By understanding the common causes of leaks and following the steps outlined in this article, you can keep your kitchen sink in good working order and avoid costly repairs.
Regular maintenance and prompt attention to leaks will help you maintain a functional and leak-free kitchen sink.


